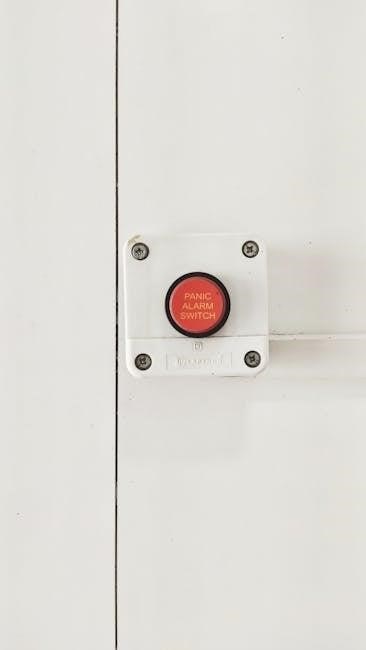
Honeywell TH6320U2008 Installation Manual PDF: A Comprehensive Guide
This guide details the Honeywell TH6320U2008 thermostat’s installation, offering downloadable PDF manuals in English, French, and Spanish․
It covers wiring, setup, and troubleshooting, ensuring a smooth installation process for professionals and DIY enthusiasts alike․
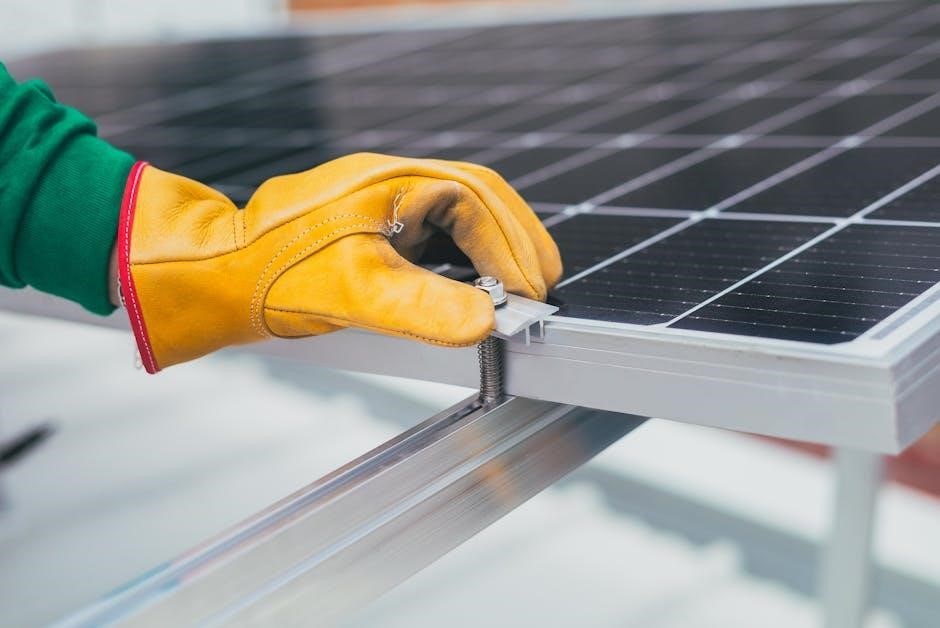
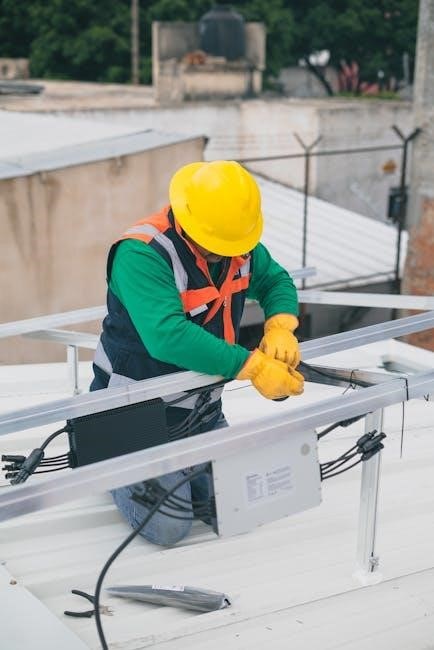
The Honeywell TH6320U2008 is a popular, programmable thermostat within the T6 Pro series, designed for efficient home climate control․ It’s a non-programmable, C-wire compatible model, offering reliable heating and cooling management․ This thermostat is frequently sought after for its ease of use and compatibility with a wide range of HVAC systems․
Understanding its features and proper installation is crucial for optimal performance․ The availability of a comprehensive installation manual in PDF format – often found through Honeywell Home support and various online resources – simplifies the setup process․ These manuals, available in multiple languages including English, French, and Spanish, provide step-by-step instructions, wiring diagrams, and troubleshooting tips․
Before beginning installation, it’s essential to verify system compatibility, particularly the wiring configuration (2H/2C)․ The TH6320U2008 is designed to replace many existing thermostats, but careful attention to wiring is paramount for a successful and safe installation․ Proper installation ensures accurate temperature regulation and energy savings․
Understanding the T6 Pro Series
The Honeywell T6 Pro series represents a significant step forward in programmable thermostat technology, balancing functionality with user-friendliness․ Models like the TH6320U2008 are designed for straightforward installation and operation, catering to both professional HVAC technicians and homeowners․ This series offers a range of features, including programmable schedules, adjustable fan control, and precise temperature settings․
A key benefit of the T6 Pro line is its compatibility with various HVAC systems, often requiring a C-wire for consistent power․ Installation manuals, readily available as PDFs, detail specific wiring configurations for different setups․ Understanding the wiring diagrams – often categorized for T4 and T6 series – is vital for a successful installation․
The series prioritizes energy efficiency, allowing users to customize heating and cooling schedules to reduce energy consumption․ Accessing the downloadable manuals provides detailed insights into maximizing these features and troubleshooting common issues, ensuring long-term performance and savings․
Availability of the Installation Manual (PDF)
The Honeywell TH6320U2008 installation manual in PDF format is widely accessible online, ensuring convenient access for installers and users․ Honeywell Home’s support website serves as a primary source, offering downloadable versions in English, French, and Spanish․ Several third-party websites also host these manuals, providing alternative download locations․
These PDFs contain comprehensive instructions, wiring diagrams, and troubleshooting guides, crucial for a successful installation․ Unilogcorp also provides a direct link to the instruction/installation manual PDF․ Searching online for “Honeywell TH6320U2008 manual pdf” quickly yields numerous results․
Full-screen view options are often available for enhanced readability․ Downloading the manual before starting the installation process is highly recommended, allowing for offline access to vital information․ These resources empower users to confidently install and operate their Honeywell T6 Pro thermostat․

Pre-Installation Considerations
Before installation, review the manual for safety precautions and required tools․ Verify your system’s compatibility – specifically 2H/2C wiring – for a seamless setup․
Safety Precautions
Prior to commencing any installation work on the Honeywell TH6320U2008 thermostat, it is absolutely crucial to disconnect power to your heating and cooling system at the breaker box or fuse panel․ This preventative measure safeguards against electrical shock and potential damage to the thermostat or your HVAC equipment․
Always read and fully understand the installation manual before beginning․ Improper wiring or handling can lead to system malfunction or hazardous conditions․ If you are uncomfortable with electrical work, it is strongly recommended to consult a qualified HVAC technician for professional installation․
Exercise caution when handling wiring, ensuring no bare wires are exposed․ Be mindful of potential pinch points and sharp edges within the wall cavity․ Dispose of old thermostat components and packaging responsibly, following local waste management guidelines․ Always contact your local waste management authority for specific disposal instructions․
Tools Required for Installation
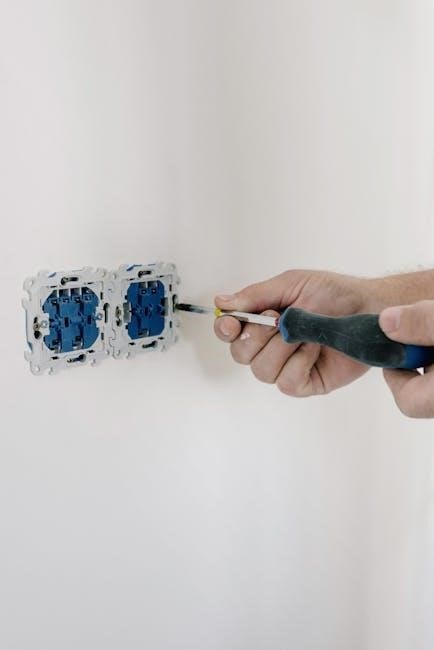
Successfully installing the Honeywell TH6320U2008 thermostat requires a few essential tools to ensure a safe and efficient process․ A Phillips head screwdriver is vital for removing the old thermostat and securing the new baseplate․ A flathead screwdriver may also be needed for certain terminal connections․
Wire strippers are crucial for preparing the thermostat wires, ensuring clean and secure connections․ A small level will help guarantee the thermostat is mounted straight for accurate temperature readings and a professional appearance․ A pencil is useful for marking wire labels and mounting screw locations․
Additionally, a digital multimeter can be helpful for verifying power is off and testing wire continuity․ Depending on your wall material, you might need a drill with appropriate drill bits for mounting․ Having a wire connector or wire nuts on hand is also recommended for any necessary splices․
Identifying System Compatibility (2H/2C Wiring)
Determining your heating and cooling system’s compatibility is crucial before installing the Honeywell TH6320U2008․ The thermostat supports 2H/2C wiring, commonly found in conventional heating and cooling systems․ ‘2H’ signifies two heating stages, while ‘2C’ indicates two cooling stages․
Carefully examine your existing thermostat’s wiring․ If you see wires connected to terminals labeled ‘W’, ‘Y’, and potentially ‘Aux’ or ‘E’, your system likely supports this configuration․ The TH6320U2008 is often compatible with systems that don’t require a ‘C’ (common) wire, but a C-wire adapter may be needed in some cases․
Refer to the wiring diagrams included in the installation manual PDF to accurately identify your system type․ Incorrect wiring can damage the thermostat or your HVAC equipment․ If unsure, consult a qualified HVAC technician to ensure proper compatibility and a safe installation․

Installation Steps
The TH6320U2008 installation involves removing the old thermostat, carefully wiring the new unit, mounting the baseplate, and attaching the thermostat body․ Detailed instructions are in the PDF․
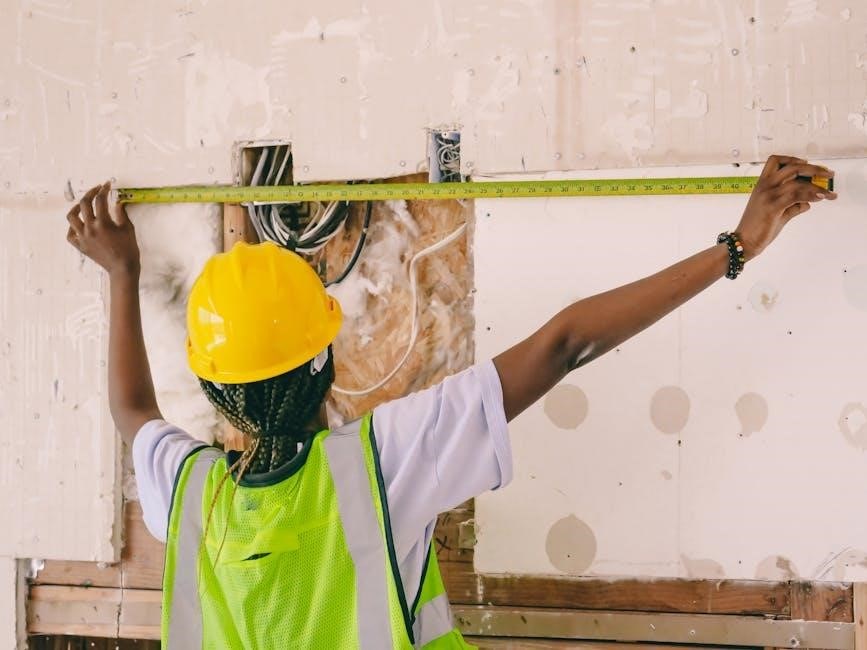
Step 1: Removing the Old Thermostat
Before beginning, power off the HVAC system at the breaker to avoid electrical shock․ Carefully remove the cover of your existing thermostat, often by gently prying it off or releasing clips․ Take a clear photograph of the existing wiring configuration – this is crucial for accurate reconnection to the Honeywell TH6320U2008․
Label each wire with the corresponding terminal designation (e․g․, R, W, Y, G, C) using the provided wire labels or masking tape․ Disconnect the wires one at a time, ensuring they don’t fall back into the wall․
Remove the old thermostat baseplate from the wall․ You may need to unscrew it or release retaining clips․ Be mindful of any wall anchors; you might need to use new ones for the TH6320U2008 baseplate․ Proper documentation of the old wiring is paramount for a successful transition and avoids potential system malfunctions․ Refer to the installation manual PDF for visual aids․
Step 2: Wiring the TH6320U2008 Thermostat
Using the photograph and labels from Step 1, connect each wire to the corresponding terminal on the TH6320U2008 thermostat baseplate․ Ensure wires are securely fastened; loose connections can cause operational issues․ The terminals are clearly marked – R for power, W for heat, Y for cooling, G for the fan, and C for common (if applicable)․
A ‘C-wire’ (common wire) is often required for consistent power, especially with newer systems․ If you don’t have a C-wire, consult the Honeywell documentation or a qualified HVAC technician․
Gently tug on each wire to confirm a secure connection․ Double-check your wiring against the wiring diagrams provided in the installation manual PDF․ Incorrect wiring can damage the thermostat or your HVAC system․ Take your time and prioritize accuracy․ Refer to the manual for 2H/2C wiring configurations if needed․
Step 3: Mounting the Thermostat Base
Once the wiring is complete and verified, carefully tuck the wires back into the wall opening․ Position the thermostat baseplate against the wall, ensuring it’s level for accurate temperature readings․ Use the provided screws and wall anchors to securely mount the baseplate․ Avoid over-tightening the screws, as this could damage the baseplate or the wall․
If you are using the optional cover plate, install it now, aligning it with the mounting holes on the baseplate; The cover plate provides a cleaner aesthetic and can conceal any imperfections in the wall․
Double-check that the baseplate is firmly attached to the wall and that no wires are pinched or exposed․ A stable base is crucial for proper thermostat operation․ Refer to the installation manual PDF for detailed diagrams and instructions․

Step 4: Attaching the Thermostat Body
With the baseplate securely mounted, carefully align the thermostat body with the base․ Gently press the body onto the baseplate until it clicks into place․ Ensure it’s firmly seated and flush against the wall․ Do not force it; if it doesn’t align easily, double-check the wiring and baseplate installation․
Once attached, verify that the display illuminates and the thermostat powers on․ If it doesn’t, revisit the wiring connections and ensure they are secure․ Refer to the Honeywell TH6320U2008 installation manual PDF for troubleshooting steps․
Finally, install batteries if required by your system configuration․ The manual provides specific guidance on battery type and installation․ A properly attached thermostat body completes the physical installation process․
Thermostat Features and Settings
The TH6320U2008 offers fan (Auto, On, Circ) and system (Heat, Cool, Off) modes, alongside programmable schedules․
Its intuitive display and buttons simplify operation and customization․
Fan Mode Operation (Auto, On, Circ)
The Honeywell TH6320U2008 thermostat provides three distinct fan mode options to optimize comfort and air circulation within your home․ Understanding these settings is crucial for tailoring the system to your specific needs․
Auto mode operates the fan only during heating or cooling cycles․ This is the most energy-efficient setting, as the fan isn’t running continuously․ When the system is actively heating or cooling, the fan circulates the conditioned air throughout your home, maintaining a consistent temperature․
On mode keeps the fan running continuously, regardless of whether the heating or cooling system is active․ This provides constant air circulation, which can help to distribute temperature more evenly and improve air quality․ However, it consumes more energy than Auto mode․
Circ mode runs the fan at a lower speed for a set period, typically 15-30 minutes, every hour․ This gently circulates air without significantly impacting energy consumption, helping to prevent temperature stratification and maintain a comfortable environment․ To switch between these modes, simply press the “Fan” button on the thermostat until the desired setting is displayed․
System Mode Selection (Heat, Cool, Off)
The Honeywell TH6320U2008 thermostat offers three primary system modes – Heat, Cool, and Off – allowing you to control how your HVAC system operates throughout the year․ Selecting the appropriate mode is essential for maintaining comfortable temperatures and optimizing energy efficiency․
Heat mode activates your heating system when the thermostat detects that the room temperature has fallen below the setpoint․ This is the mode to use during colder months to warm your home․ The thermostat will cycle the heating system on and off to maintain the desired temperature․
Cool mode activates your cooling system when the room temperature rises above the setpoint․ Use this mode during warmer months to cool your home․ Similar to Heat mode, the thermostat will cycle the cooling system to maintain the set temperature․
Off mode disables both the heating and cooling systems․ While the thermostat will remain powered on and display the current temperature, it will not call for heating or cooling․ To switch between these modes, use the “System” button on the thermostat interface․
Programming the Thermostat Schedule
The Honeywell TH6320U2008’s programmable schedule feature allows you to customize temperature settings for different times of the day and days of the week, maximizing comfort and energy savings․ This eliminates the need for manual adjustments and ensures your home is always at your preferred temperature․
Accessing the schedule programming is typically done through the thermostat’s menu system․ You’ll be able to set different “periods” – such as Wake, Leave, Return, and Sleep – and assign a specific temperature to each period․ The thermostat supports different schedules for weekdays and weekends, offering greater flexibility․
To program the schedule, navigate to the “Schedule” option in the menu․ You can then edit the start time and temperature for each period․ The thermostat will automatically transition between these periods based on the programmed times․ Review the downloadable PDF manual for detailed, step-by-step instructions and visual aids to ensure accurate programming․
Understanding the Display and Buttons
The Honeywell TH6320U2008 thermostat features a user-friendly display and intuitive button layout designed for easy operation․ The display prominently shows the current room temperature, set temperature, and operating mode (Heat, Cool, Off)․ It also indicates the current time and day of the week, crucial for schedule programming․
Key buttons include “Fan,” “System,” and “Temperature Up/Down”․ The “Fan” button cycles through Auto, On, and Circ (circulation) modes․ “System” allows you to select Heat, Cool, or Off․ The Up/Down buttons adjust the set temperature․ A “Menu” or “Hold” button accesses advanced settings and schedule programming․
Refer to the downloadable PDF manual for a detailed diagram of the display and button functions․ The manual provides clear explanations of each icon and button’s purpose, ensuring you can confidently navigate the thermostat’s interface and customize settings to your preferences․ Understanding these controls is vital for optimal performance․
Troubleshooting Common Issues
Common problems like no power, incorrect readings, or connectivity issues are addressed in the downloadable PDF manual․ It provides step-by-step solutions for quick resolution․
Thermostat Not Powering On
If your Honeywell TH6320U2008 thermostat fails to power on, the installation manual PDF recommends several checks․ First, verify the power supply at the furnace or HVAC system is active․ Ensure the circuit breaker hasn’t tripped and the power switch is in the ‘on’ position․
Next, carefully inspect the wiring connections at both the thermostat and the furnace control board․ A loose or incorrectly connected wire can prevent power from reaching the thermostat․ The manual’s wiring diagrams are crucial for confirming correct connections, especially for 2H/2C systems․
Confirm a C-wire (common wire) is present and properly connected․ Many modern thermostats, including the TH6320U2008, require a C-wire for consistent power․ If a C-wire isn’t available, a C-wire adapter might be necessary – consult the manual for compatibility and installation instructions․ Finally, check the thermostat batteries (if applicable) and replace them if depleted․ The PDF provides detailed illustrations to aid in these troubleshooting steps․
Incorrect Temperature Readings
If the Honeywell TH6320U2008 thermostat displays inaccurate temperature readings, the installation manual PDF suggests several diagnostic steps․ Begin by ensuring the thermostat isn’t directly exposed to sunlight, drafts, or heat sources like lamps, which can skew readings․ Verify proper airflow around the thermostat; obstructions can affect temperature sensing․
The manual emphasizes the importance of correct thermostat placement․ It should be on an interior wall, away from external influences․ Check for proper wiring connections, particularly the temperature sensor wires․ A loose connection can cause erratic readings․
Utilize the thermostat’s calibration feature, detailed in the PDF manual, to adjust the displayed temperature to match a known accurate thermometer․ If the issue persists, the manual advises checking for interference from nearby electrical devices․ Resetting the thermostat to factory defaults, as outlined in the manual, can also resolve calibration issues․ Consult the wiring diagrams to confirm correct sensor wiring․
Connectivity Problems (if applicable)
While the base Honeywell TH6320U2008 model isn’t a “smart” thermostat with inherent connectivity, some variants (like those paired with Honeywell Home systems) may experience connection issues․ The installation manual PDF addresses these scenarios, starting with verifying the home’s Wi-Fi network is functioning correctly․
Ensure the thermostat is within range of the Wi-Fi router․ Walls and interference can weaken the signal․ The manual details the process of re-connecting the thermostat to the Wi-Fi network through the thermostat’s settings menu․ Check for firmware updates, as these often include connectivity improvements; the manual explains how to initiate an update․
If problems persist, the PDF suggests resetting the network module (if equipped) and re-pairing it with the Honeywell Home app․ Consult the Honeywell Home support website (linked in the manual) for specific troubleshooting steps related to your system․ The manual also provides guidance on checking for potential IP address conflicts․
Additional Resources
Access the Honeywell Home support website for FAQs, wiring diagrams, and downloadable manuals (English, French, Spanish)․
PDFs for T4 and T6 series are readily available for further assistance․
Honeywell Home Support Website
The Honeywell Home support website is a central hub for all your TH6320U2008 thermostat needs․ It provides a wealth of information, going beyond the basic installation manual PDF․ You’ll find frequently asked questions (FAQs) addressing common issues and troubleshooting steps, often resolving problems quickly without needing to contact support directly․
Detailed wiring diagrams are available, crucial for ensuring correct connections, especially when upgrading from older thermostat models like the T4 or T1 Pro series․ These diagrams visually illustrate the wiring configurations for various system types, minimizing errors during installation․ The website also hosts a comprehensive library of downloadable manuals, not only in English but also in French and Spanish, catering to a diverse user base․
Beyond the TH6320U2008 specific resources, the site offers general thermostat support, helpful articles, and video tutorials․ You can register your product for warranty information and access exclusive content․ The Honeywell Home website is designed to empower users with the knowledge and tools needed for a successful thermostat experience, from initial setup to ongoing maintenance․
Downloadable Manuals (English, French, Spanish)
Accessing the Honeywell TH6320U2008 installation manual in PDF format is straightforward, with options available in multiple languages․ Honeywell provides downloadable versions in English, French, and Spanish, ensuring accessibility for a wider audience․ These manuals comprehensively cover the thermostat’s installation process, wiring configurations, operational features, and troubleshooting guidance․
The PDF format allows for easy viewing on various devices – computers, tablets, and smartphones – and convenient offline access; You can print sections for use during installation or save the entire manual for future reference․ These manuals detail crucial steps, from safely removing your old thermostat to correctly wiring the TH6320U2008, including specific instructions for 2H/2C wiring systems․
Beyond the installation guide, you may find separate user manuals detailing programming schedules and advanced features․ These downloadable resources are readily available from Honeywell’s official website and various online distributors, providing a complete support package for your new thermostat․
Wiring Diagrams for T4 and T6 Series
Understanding the wiring configurations is crucial for a successful Honeywell thermostat installation, and diagrams for both T4 and T6 series are readily available․ While the TH6320U2008 is a T6 Pro model, referencing T4 diagrams can be helpful for understanding basic wiring principles․ These diagrams illustrate the connections for various system types, including conventional heating and cooling, heat pumps, and millivolt systems․
The diagrams clearly depict the terminals for power (R, C), heating (W, W2), cooling (Y, Y2), and fan (G)․ They also show how to handle common wiring scenarios, such as a C-wire (common wire) which is often required for optimal performance․
Honeywell provides these wiring diagrams in PDF format, accessible through their support website and distributor resources․ Carefully comparing your existing thermostat’s wiring to the appropriate diagram for your system is essential before disconnecting any wires․ Incorrect wiring can damage your HVAC system or the thermostat itself, so proceed with caution and consult a professional if needed․
Leave a Reply
You must be logged in to post a comment.